How to Resize an Image Without Losing Quality
Resizing an image sounds simple until you try it and the result looks soft, pixelated, or noticeably worse than the original. The trick is matching the right technique to whether you're going bigger or smaller.
Downsizing vs. upsizing — they're actually different problems
Downsizing (making an image smaller) is mathematically easy. You have plenty of pixel data and you're throwing some away. With a good resampling algorithm (bicubic or Lanczos), downsized images often look better than the original because algorithms smooth out small imperfections and noise.
Upsizing (making an image bigger) is mathematically hard. You don't have enough pixel data and the algorithm has to invent the rest. Traditional upsizing produces blurry or pixelated results. AI upsizing (see our image upscaling guide) does much better but is fundamentally a different operation.
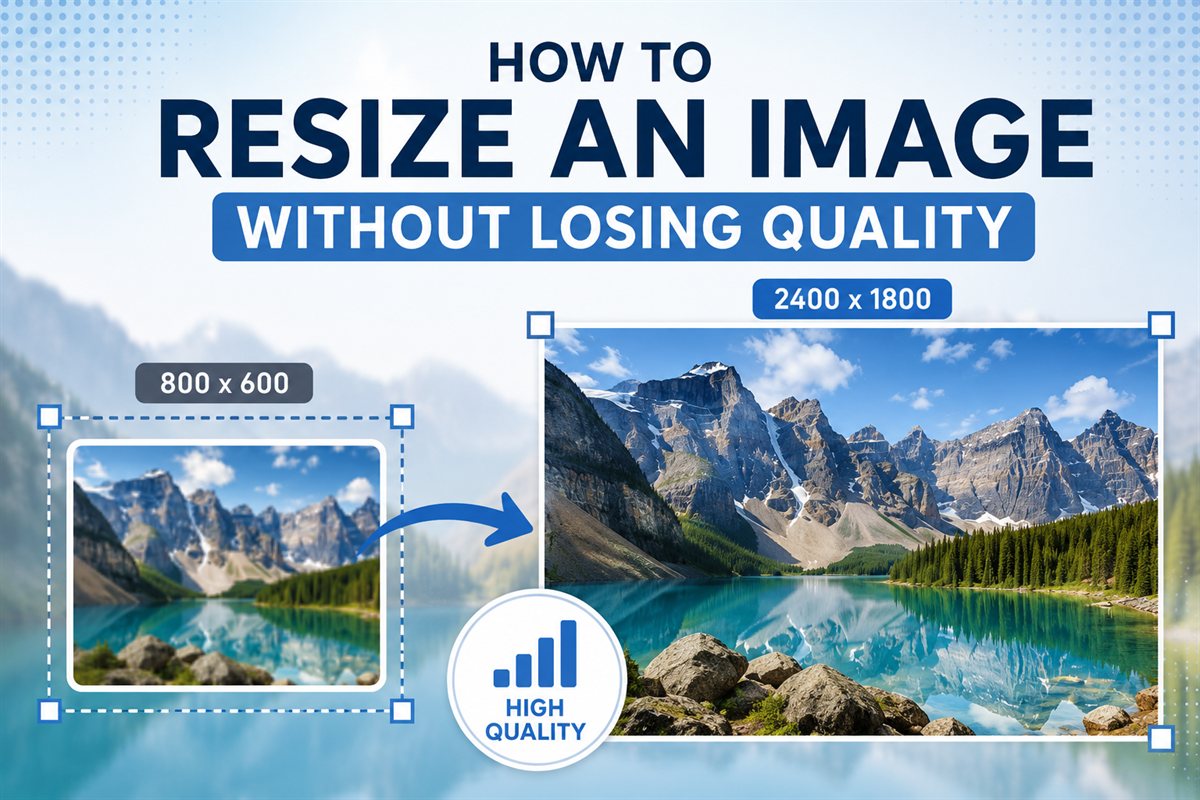
When people say "resize without losing quality," they almost always mean downsizing — and that's eminently doable.
How to resize an image in your browser
Open a tool like Easy Press Pro's Image Resizer. Drop your image. Type the new dimensions (or set a scale percentage). The tool maintains aspect ratio automatically unless you unlock it. Download.
For most resizing tasks, this is all you need. The tool uses high-quality resampling algorithms that produce clean results. The process runs in your browser, so the image never leaves your device.
Pick the right dimensions for the use case
Web display: 2x the display size. If your image shows at 600 pixels wide on the page, save it at 1200 pixels wide for crisp display on retina screens. Going larger than 2x is wasteful — the browser downsizes anyway.
Email attachments: 1600 pixels on the long edge is plenty. Any modern recipient can view that at full screen and zoom in for detail. File size stays manageable, attachment delivers reliably.
Social media posts: Match the platform's spec exactly. Instagram feed: 1080×1080 or 1080×1350. Twitter post: 1200×675. LinkedIn post: 1200×627. Going larger than the spec is wasted — the platform downsizes on upload.
Printing: 300 DPI of the target print size. 8×10 inch print = 2400×3000 pixels. Going larger doesn't improve print quality; smaller results in obviously low-res prints.
Format choices that affect quality during resize
JPG → JPG resize: The result is re-compressed, which adds slight quality loss on top of the resize. For one resize step this is invisible. For multiple resizes (resize, save, resize again), quality compounds downward.
PNG → PNG resize: Lossless. The resize itself doesn't lose quality; you just have fewer pixels. Multiple resizes are still lossless.
Original PNG → resized JPG: Good combination if you don't need PNG's transparency. JPG of the resized version is much smaller and visually identical at 90% quality.
Practical rule: keep your originals in PNG or your camera's RAW format. Convert to JPG only for the specific use case where you'll deploy the image. Avoid re-saving the same JPG multiple times.
Mistakes that ruin resize quality
Upsizing in regular tools and hoping for the best. Standard resize doesn't add detail — it stretches. If you genuinely need bigger pixels of an image, use an AI upscaler, not a basic resizer.
Resizing in tiny increments. If you need to go from 4000 pixels to 1200 pixels, do it in one step. Multi-step resizing through arbitrary intermediate sizes can compound quality loss.
Forgetting about aspect ratio. Unlocking aspect ratio and resizing arbitrarily produces stretched, distorted images. Unless you specifically need a different aspect ratio (and are willing to accept the distortion), keep it locked.
Going below the actual display size. If your image will show at 1200 pixels wide on retina screens, saving at 800 pixels wide produces visible softness even at correct display.
Resampling algorithms — what "nearest neighbor" vs "bicubic" actually does
When you resize an image, the software has to figure out what color each new pixel should be. Different algorithms produce very different results — and using the wrong one is a common reason resized images look worse than they should.
Nearest neighbor is the simplest: for each new pixel, copy the nearest pixel from the original. Fast, but produces blocky, pixelated results when enlarging. Useful for pixel art (where you want to preserve the blocky look) and for very small downsizes; bad for photos.
Bilinear interpolates between the nearest four source pixels. Smoother than nearest neighbor but produces slightly soft results. Adequate for most uses but rarely the best choice.
Bicubic interpolates between sixteen source pixels using a cubic curve. Produces noticeably sharper, more natural-looking results than bilinear. The default in Photoshop and most modern image editors. Sweet spot of quality and speed for typical resizing.
Lanczos uses a sinc-function kernel for interpolation. Produces the sharpest results when downsizing, with slight risk of ringing artifacts. Often the best choice for photographs being scaled to specific display sizes.
Mitchell-Netravali is a tunable algorithm that balances sharpness and softness. Used in some pro tools; rarely the default but available for specific needs.
Most browser-based resizers use bicubic or Lanczos by default — both produce excellent results for typical web and email resize needs. You rarely need to pick the algorithm explicitly; the defaults are sensible.
Frequently asked questions
Will resizing always lose quality?
Downsizing properly with bicubic or Lanczos: essentially no visible quality loss. Upsizing with traditional algorithms: yes, always some loss (the pixels don't exist). Upsizing with AI super-resolution: minimal effective quality loss — see our upscaling guide.
What aspect ratio should I keep when resizing?
Always preserve the original aspect ratio unless you specifically need a different one (which always means cropping or stretching the content). Most resize tools lock aspect ratio by default; unlock it only with intention.
Should I resize once at the end or progressively?
Resize once from source to final size, not in steps. Each resize pass introduces some quality loss (especially for JPG output where each save re-compresses). One-shot resizing produces the cleanest result.
Why does my resized photo look softer than the original?
All downsizing softens edges slightly — that's inherent to averaging multiple source pixels into one output pixel. If excessive softness is a problem, apply a mild sharpening pass after resize, or use Lanczos resampling which preserves edges better.
Can I resize without re-saving as JPG?
Yes — save as PNG or WebP for lossless output. JPG saving compresses, which adds slight quality loss on top of the resize. If you'll edit the file further, use PNG; if final delivery is JPG, save once at the end.
Try the Image Resizer
Quality resampling, aspect ratio control, runs in your browser.
Open Image Resizer